G's Blog

Migration

NextCloud DB Migration to PostgreSQL (#100DaysToOffload Day 9)

So I'm getting todays post out early because i have a feeling the rest of the day will get away from me. It's also going to be a quick one.

(Late)Last night i decided to finally migrate my Nextcloud server's DB to PostgreSQL from Mysql. No specific reason other than I've heard many times that PostgreSQL performs/scales better. I've been wanting to do it for a while but figured it would be a long dangerous process that would almost require a reinstall of the server. Thanks to a toot on mastodon i found out that Nextcloud has an easy tool to do the migration. So after doing regular updates on the server i decided to do the migration. Seemed simply enough. Just run the following:

occ db:convert-type --all-apps pgsql nextcloud 127.0.0.1 nextcloud

That ended badly

It was so late when i was doing this and i was very tired. The install was not broken so i just turned off maintenance mode and went to bed with the idea that i would spend much time this morning figuring out what was going wrong and how to fix it. I quickly posted to the Nextcloud IRC chan before i went to bed.

There was no response when i got up. I had a closer look at the error message and realized it was referring to a specific app. One that i had installed but never actually used. The Following oc_ocdownloader_queue_ID_seq pointed me in that direction. So i disabled/removed that app(oc Downloader) and deleted the 3 related tables from Mysql DB then re-ran the migration as follows:

occ db:convert-type --clear-schema --all-apps pgsql nextcloud 127.0.0.1 nextcloud

Had to add the --clear-schema option since the schema had already been created in the PostgreSQL DB. All went well this time. For good measure i ran occ maintenance:repair that also went well.

Turned off maintenance mode and opened up the app. I right away noticed that things where loading faster. I navigated over to the admin overview page and it had a few recommendations. Had to run the following:

occ db:add-missing-indices

This could be done without enabling maintenance mode. Also had to run:

occ db:convert-filecache-bigint

This one had to be done while in maintenance mode.

After that all was happy. I was able to reinstall the offending app. I actually set it up this time and might actually put it to use.

I must say that things do seem to load faster(placebo or not). Overall a great migration. I'm not sure why NextCloud officially recommends Mysql over PostgreSQL but i would recommend to use PostgreSQL.

The only thing on that server left using Mysql is this blog(Writefreely). I'm going to see if that can use PostgreSQL as well. That way i can have only one DB backend running.

That is all for today(Ok maybe not a quick one after all).

Until tomorrow be safe!

@mgrondin@youdabomb.social

#Tech #Migration #Nextcloud

Until next time. Stay safe!

G @mgrondin@youdabomb.social

Hello Everyone

I have decided to migrate my blog from using Github Pages to self hosting it using WriteFreely. If all goes well i'll be able to boost this on Mastodon.

I will still post sporadically when I have time and something worth sharing.

I will also be migrating my old posts at some point. Probably over the weekend.

That's all for now.

Have a great day.

G

#Tech #Meta #SelfHost #Migration

Until next time. Stay safe!

G @mgrondin@youdabomb.social

NextCloud Migration(Again)

So this post will detail the steps I took to migrate my Nextcloud instance from my old VPS(Named Zeus) to my new bigger VPS(Named Hera). When I got Zeus I was not really planing on moving my Nextcloud instance to it but once I decided to keep Zeus I did just that.

After moving Nextcloud I also decided to host a Peertube instance. I quickly realized that with both of those on it I would outgrow the storage on Zeus so I got the next level VPS offered by the hosting company I went with.

And so now I have to migrate again. So lets get on with it.

I will not cover the initial setup required since I assume that if you are in need of a migration guide you already have nextcloud setup. Arch linux has a good guide if you need one. Also to note I run Arch linux so some of these steps/paths will be specific to Arch but the steps should give you an understanding of what needs to happen.

On to the migration. As I said the first step was to perform inital setup and installation of dependencies on Hera. Once that was done the real fun begins.

First we must place the nextcloud instance on Zeus in maintenance mode so that no new files/changes are made while we copy things over to Hera. This is done simply by issuing this command from the root of the nextcloud install.

sudo -u http ./occ maintenance:mode --on

Note that if on your distro the root of the nextcloud install is not owned by the http user you will need to adjust that in the command above.

After this command you should wait around 10 minutes to ensure all clients have received the maintenance notification and have stoped syncing. In my case that's just my couple of PC's and my phone but still best to give it this time. Then we stop our http server.

The next step is to copy the nextcloud application folder from Zeus to Hera. This can be done using rsync initiated from Zeus:

rsync -Aavx /usr/sahre/webapps/nextcloud/ root@hera.gcfam.net:/usr/share/webapps/nextcloud

This ensures that all apps installed on your instance are also copied over.

Once this is done we copy the nextcloud config. Again using rsync and initiated from Zeus:

rsync -Aavx /etc/webapps/nextcloud/config/ root@hera.gcfam.net:/etc/webapps/nextcloud/config

Using the same command we should also copy the webserver config,ssl certificate and webserver logs related to nextcloud.

Next we create a dump of the nextcloud database on Zeus. In my case I'm using mysql so the command is

mysqldump --single-transaction -h localhost -u root -p nextcloud > nextcloud-sqlbkp_`date +"%Y%m%d"`.bak

This will create nextcloud-sqlbkp_20191111.bak. Then we can use rsync to copy this dump to Hera

rsync -Aavx nextcloud-sqlbkp_20191111.bak root@hera.gcfam.net:/root

Now we restore the dump on Hera

mysql -h localhost -u root -p nextcloud < nextcloud-sqlbkp_20191111.bak

Finally we copy the data folder from Zeus to Hera. This is once again done with rsync this time we add the -t option so it preserves timestamps otherwise all files will need to be re-downloaded by clients

rsync -Aavxt /srv/CloudData/ root@hera.gcfam.net:/srv/CloudData

Obviously depending on the amount of data stored on your instance and the connection speed between the two servers this could take a while.

Once this is completed we should be able to start the webserver on Hera.

With that started we should be able to access nextcloud using the IP address of Hera. We do this before changing the DNS entry incase something does not work. If we get the maintenance mode warning then we should be golden.

We can now disable maintenance on Hera

sudo -u http ./occ maintenance:mode --off

Now we can confirm that we are able to login and if everything seems to work. After that we can update the DNS entry and our migration has been a sucess!!

Have a great day.

G

#Tech #Migration #Nextcloud

Until next time. Stay safe!

G @mgrondin@youdabomb.social

Migrate all the things!!

As i stated in my previous post my primary harddrive is failing on me. To be proactive i am replacing it before it fully dies.

So this will be a somewhat technical post where I will outline the steps I took to migrate to my new HDD. Some of these steps will be specific to my setup but most could be applied to other situations. Hope you find some of this useful or at least informational.

First some details on the setup. I use BTRFS as my filesystem on all my drives. BTRFS provides a subvolume functionality. Subvolumes are similar to partitions in which they can be mounted/accessed independently from the main/root of the filesystem. So my old drive was setup with the following subvolumes:

Subvolume Description
@Home This contains my Home partition
@Storage This contains my primary storage (Hold Downloads,Wallpapers and other general data)
@HomestBU This was used to make backups(More will be explained on how to handle backups with BTRFS subvolumes/snapshots)

This same layout will be replicated on the new drive later.

To avoid any data loss I had moved my @Home subvolume to my raid5 array(Called Storage2) which typically holds my media files and my @Storage subvolume to my external storage device(called Storage3) that normally holds my backups. Now the task will be to move those subvolumes to the new harddrive. So lets get on with it.

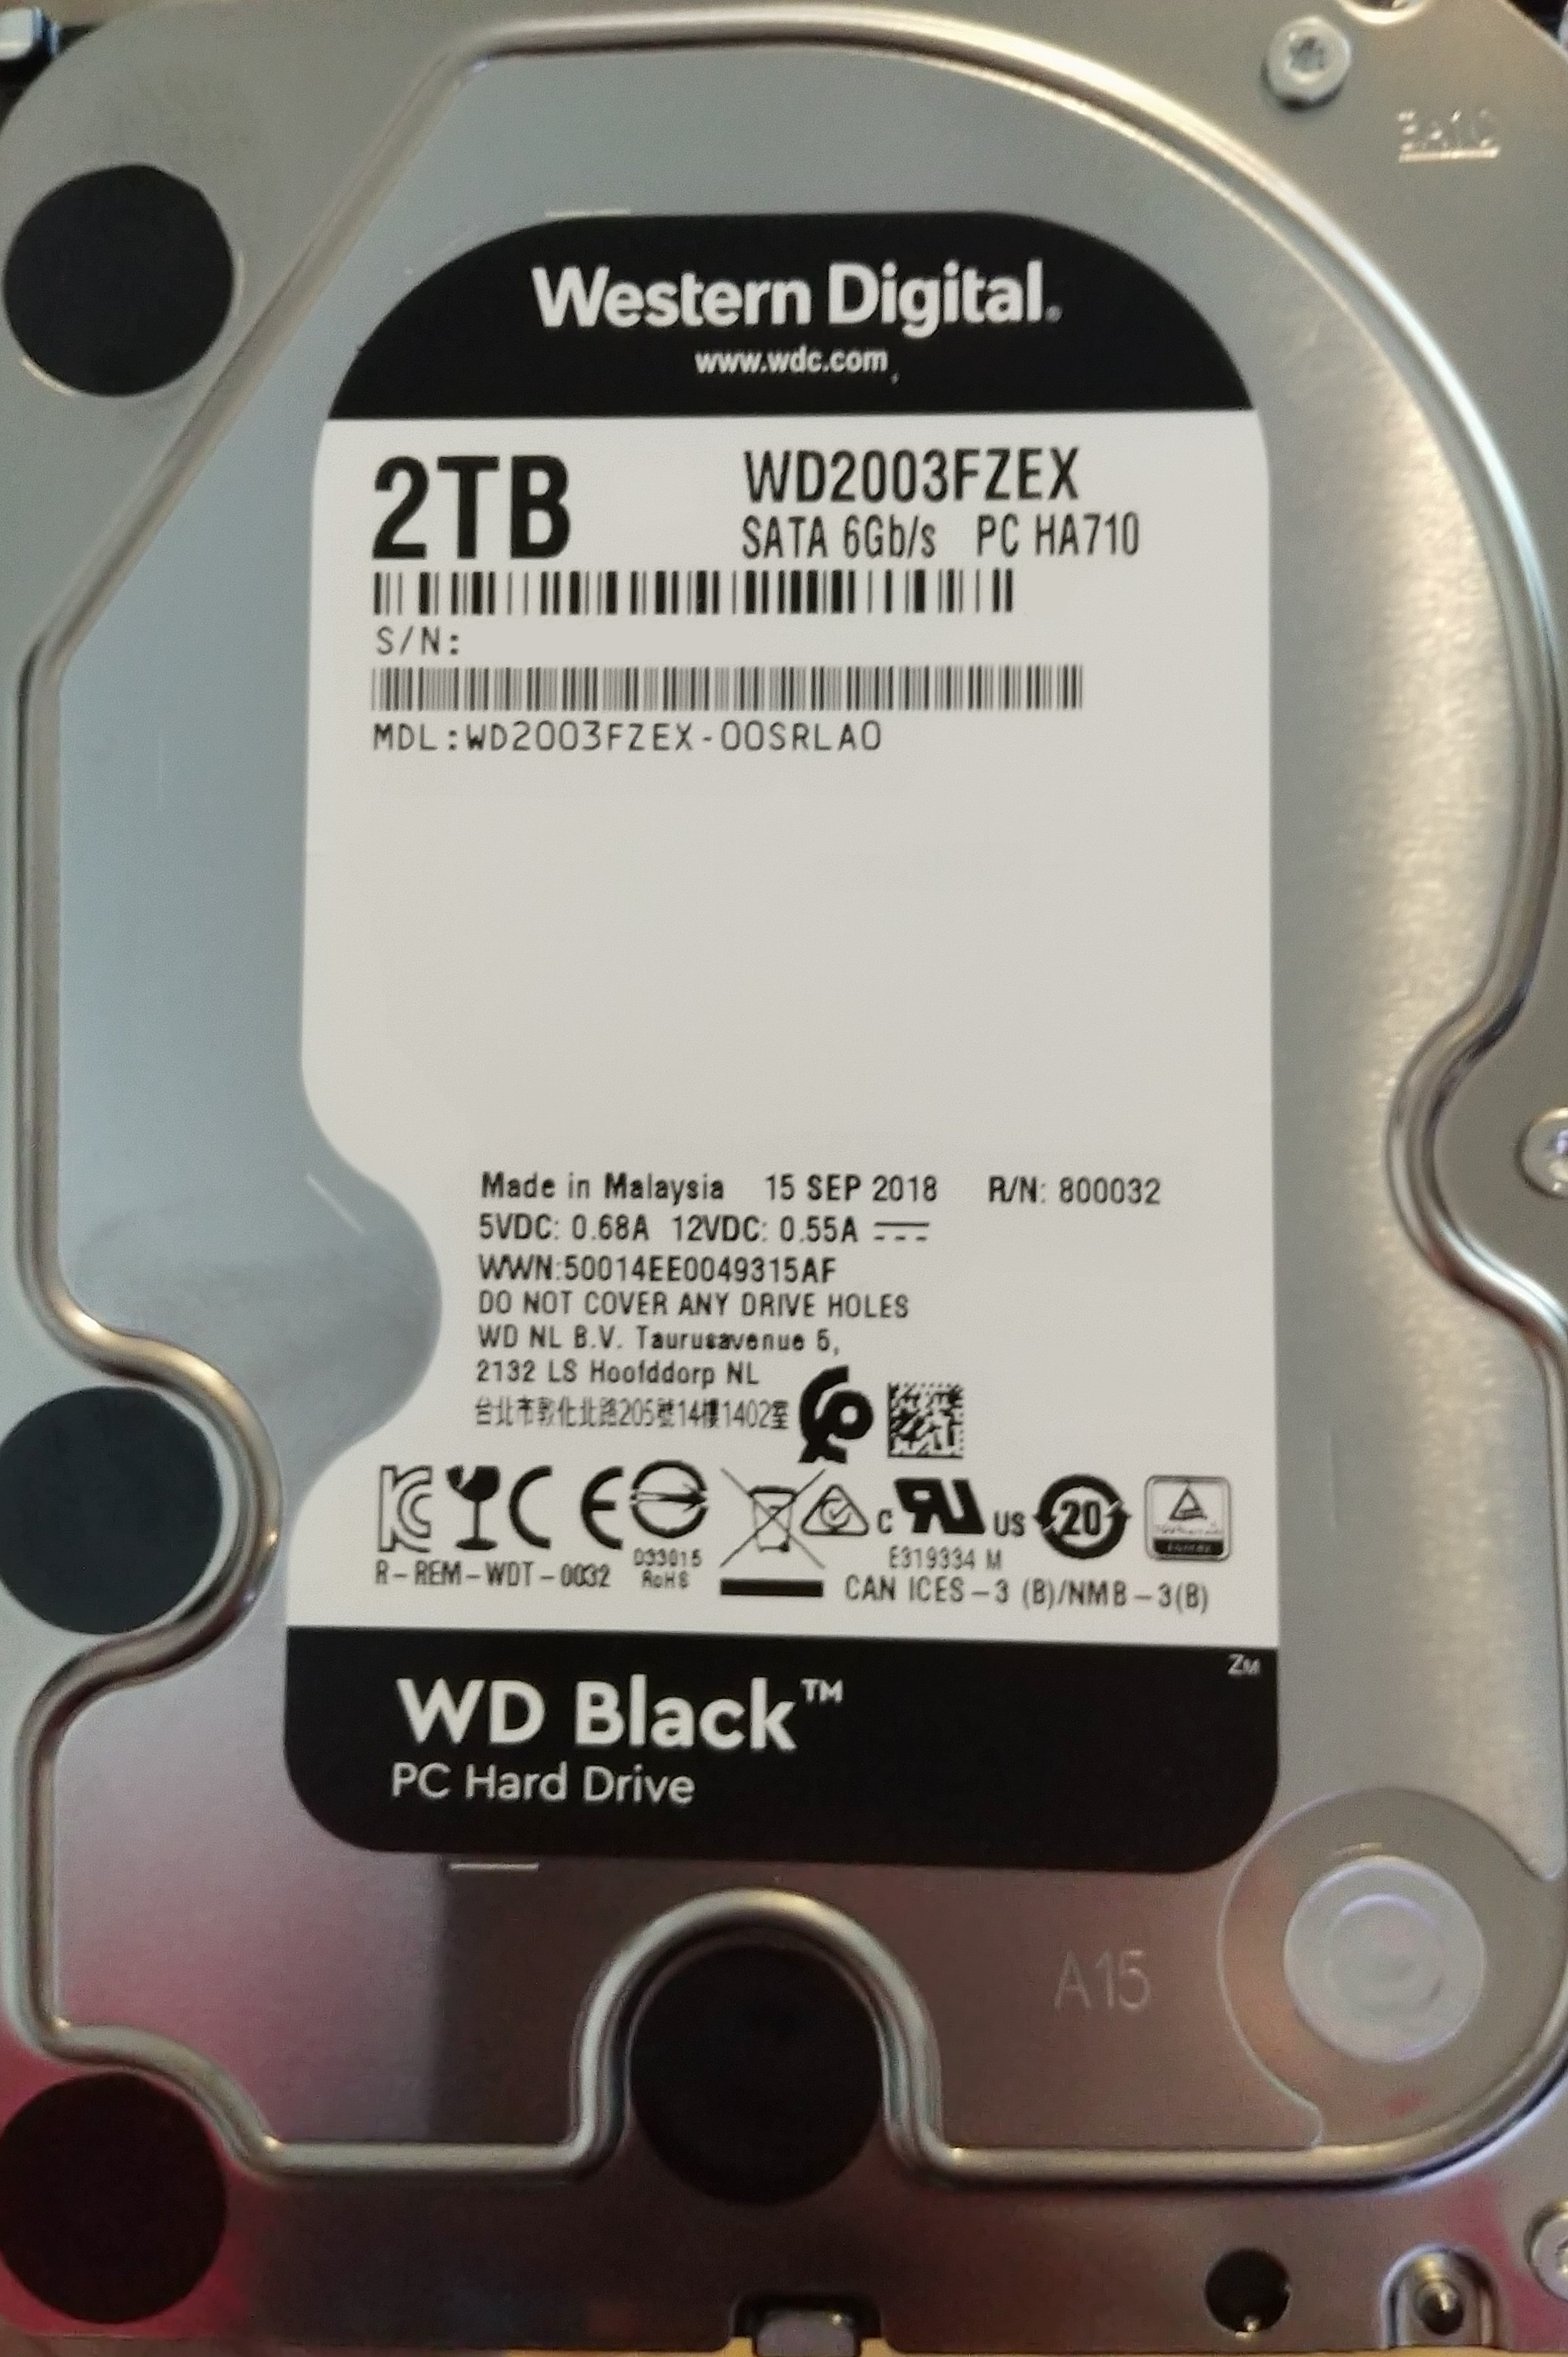
This is the drive I am migrating stuff to

Harddrive_Image_goes_here

Lets begin the migration.

Since I have all my storage encrypted the first step is to setup the encryption container. This is done by issuing the following cammand:

cryptsetup -v --type luks --cipher anubis-xts-plain64 --keysize 640 --hash whirlpool --iter-time 5000 --use-random -d /etc/homest luksFormat

Lets breakdown that command a bit shall we

Option Desctiption
-v This simply makes the cryptsetup command output mor detailed information about what it does
--type luks This instructs cryptsetup that we are working in luks mode instead of plain mode (See here for an explanation of the differences between plain and luks mode.)
--cipher anubis-xts-plain64 This is defining the cipher to be used for the encryption operation. I always use a cipher that is not as mainstream. In this case i am using the anubis cipher. I like this cipher for a few reasons. One of them being that it is named after an egyptian god and the creator has stated that anyone who breaks it will be cursed.
--keysize 640 This defines the size(in bits) of the key used for encryption. The bigger the key the stronger the encryption. Anubix has a maximum key size of 320 but since the xtx cipher mode splits the key in 2 we specify 640 here.
--hash whirlpool This defines what hash function(default sha256) will be used the hash the passphrase.
--iter-time 5000 This defines how long(in miliseconds) cryptsetup will spend processing the keyphrase. Default is 1 second I make it go for 5.
--use-random This define the source used for the generation of random numbers used by the format process. Choices are urandom or random. I always use random as it produces a more random result
-d /etc/homest This defines a keyfile to use instead of prompting for a passphrase. That key file is a giant string of random characters
luksFormat This just says to format the device that follows
/dev/sdxY The device to format

Now that the encrypted container is ready we can open it to use it:

cryptsetup open -d /etc/homest /dev/sdxY homest

Now we can format the container with a filesystem:

mkfs.btrfs /dev/mapper/homest

And mount it:

fstab entry

/dev/mapper/homest                              /mnt/btrfsroot           btrfs           compress=zlib,space_cache=v2       0 0

mount /mnt/btrfsroot

Starting with my @Storage subvolume we will now move it to the new drive

First we create a read-only snapshot of the subvolume:

btrfs subvol snap -r \@Storage/ \@Storage.migrate

A snapshot is like a picture of the data currently in that subvolume.

Now we send it over to the new drive:

btrfs send -vvv \@Storage.migrate/ | btrfs receive -vvv /mnt/btrfsroot/

Once this is complete we update the fstab entry to mount the subvolume from it's new location:

/dev/mapper/homest                              /media/Storage  btrfs           compress=zlib,space_cache=v2,subvol=@Storage    0 0

Notice how this entry is similar to the previouse with the differences being the mountpoint(/media/Storage) and that we specify the subvolume to mount.

Now we do the same thing with the @Home subvolume.

First we create a read-only snapshot of the subvolume:

btrfs subvol snap -r \@Home/ \@Home.migrate

Now we send it over to the new drive:

btrfs send -vvv \@Home.migrate/ | btrfs receive -vvv /mnt/btrfsroot/

Once this is complete we update the fstab entry to mount the subvolume from it's new location:

/dev/mapper/homest                              /Home  btrfs           compress=zlib,space_cache=v2,subvol=@Home    0 0

Now the subvolumes on the receive side(now in /mnt/btrfsroot) are still in read-only mode which wont work. To resolve that we simply take a read-write snapshot of the subvolume:

btrfs subvol snap \@Home.migrate \@Home btrfs subvol snap \@Storage.migrate \@Storage

And That is it. Migration complete. All that is left to do is reboot to start using the new drive. Hope you maybe found this post informational.

Have a great day.

G

#Tech #Migration #Linux #BTRFS

Until next time. Stay safe!

G @mgrondin@youdabomb.social