G's Blog

tech

Keeping FreeBSD up-to-date on Raspi-B from Linux (#100DaysToOffload Day31)

So if you follow my blog/fediverse account you know that i've started using FreeBSD on some RapberryPi Model B's i had around(that's down to 1 now...) as some in home servers. The remaining one hosts my gopher space and a disposable mailbox service. The trouble I've had was that the only way to upgrade between releases was to either build from source on the Pi(haha who's got time for that) or start from scratch with a new image every time. Had to come up/find another option.

Thanks to @mpts@mastodon.social who pointed me to an article about just this. Mind you the article is about FreeBSD 11 but same process applies. So i set off to get this going. First attempt was to do it from my little Dell laptop. While it worked it took like 2 and a half hours to build world+kernel. Had to be a faster way. Not that this needs to be done often but still. Then it hit me. I can use Qemu on my linux PC to setup and use FreeBSD. So i did just that. This post will detail the steps i took to get this accomplished. The time savings are well worth it in my case. So lets get started.

Step 1 is to create the disk image. This is done like so

qemu-img create -f qcow2 -o preallocation=full FreeBSD.img 64G

Since i only plan on using this to build for the Raspberry Pi 64gb should be more than enough. Preallocation will speed things up a little by having the file at it's max size and not having it take time to expand as it needs.

Step 2 is to grab the 64-bit installer image for FreeBSD 12.2 and use that to install FreeBSD in our VM.

We start Qemu like so to boot the installer.

qemu-system-x86_64 -vga std -smp cores=8 -machine accel=kvm -m 4096 -hda FreeBSD.img -cdrom FreeBSD-12.2-RELEASE-amd64-disc1.iso -name "FreeBSD" -rtc base=localtime -boot d

This will create/boot a VM with 8 processors/cores and 4g of ram using our image created above as the hard disk. We can then step through the installation as normal. The defaults are good enough for this use.

After the install is finished we can power down the VM and start it back up without the cd mounted like so

 qemu-system-x86_64 -vga std -smp cores=8 -machine accel=kvm -m 4096 -hda FreeBSD.img -name "FreeBSD" -rtc base=localtime 

The rest of this is taken directly from the article linked above and adapted to build 12.2 instead of 11.

So Step 3 is to grab the FreeBSD source.

cd /usr/src
svn checkout https://svn.freebsd.org/base/releng/12.2

Once this has completed we can start the build

make -j9 TARGET_ARCH=armv6 UBLDR_LOADADDR=0x2000000 buildworld

It is important to set the UBLDR_LOADADDR variable otherwise the system wont boot.

On my system this took about about 30 minutes.

Once that is down we build the kernel

make -j9 TARGET_ARCH=armv6 KERNCONF=RPI-B buildkernel

This took about 5 minutes for me.

Now came the next part i knew i would have to figure out. How to mount the Pi's SD card in Qemu. After some searching i found how to do this using USB pass-throught. First step is to find the device by using lsusb

Bus 004 Device 003: ID 0480:0212 Toshiba America Inc External USB 3.0
Bus 004 Device 002: ID 0480:0212 Toshiba America Inc External USB 3.0
Bus 004 Device 001: ID 1d6b:0003 Linux Foundation 3.0 root hub
Bus 003 Device 001: ID 1d6b:0002 Linux Foundation 2.0 root hub
Bus 002 Device 002: ID 1058:1230 Western Digital Technologies, Inc. My Book (WDBFJK)
Bus 002 Device 001: ID 1d6b:0003 Linux Foundation 3.0 root hub
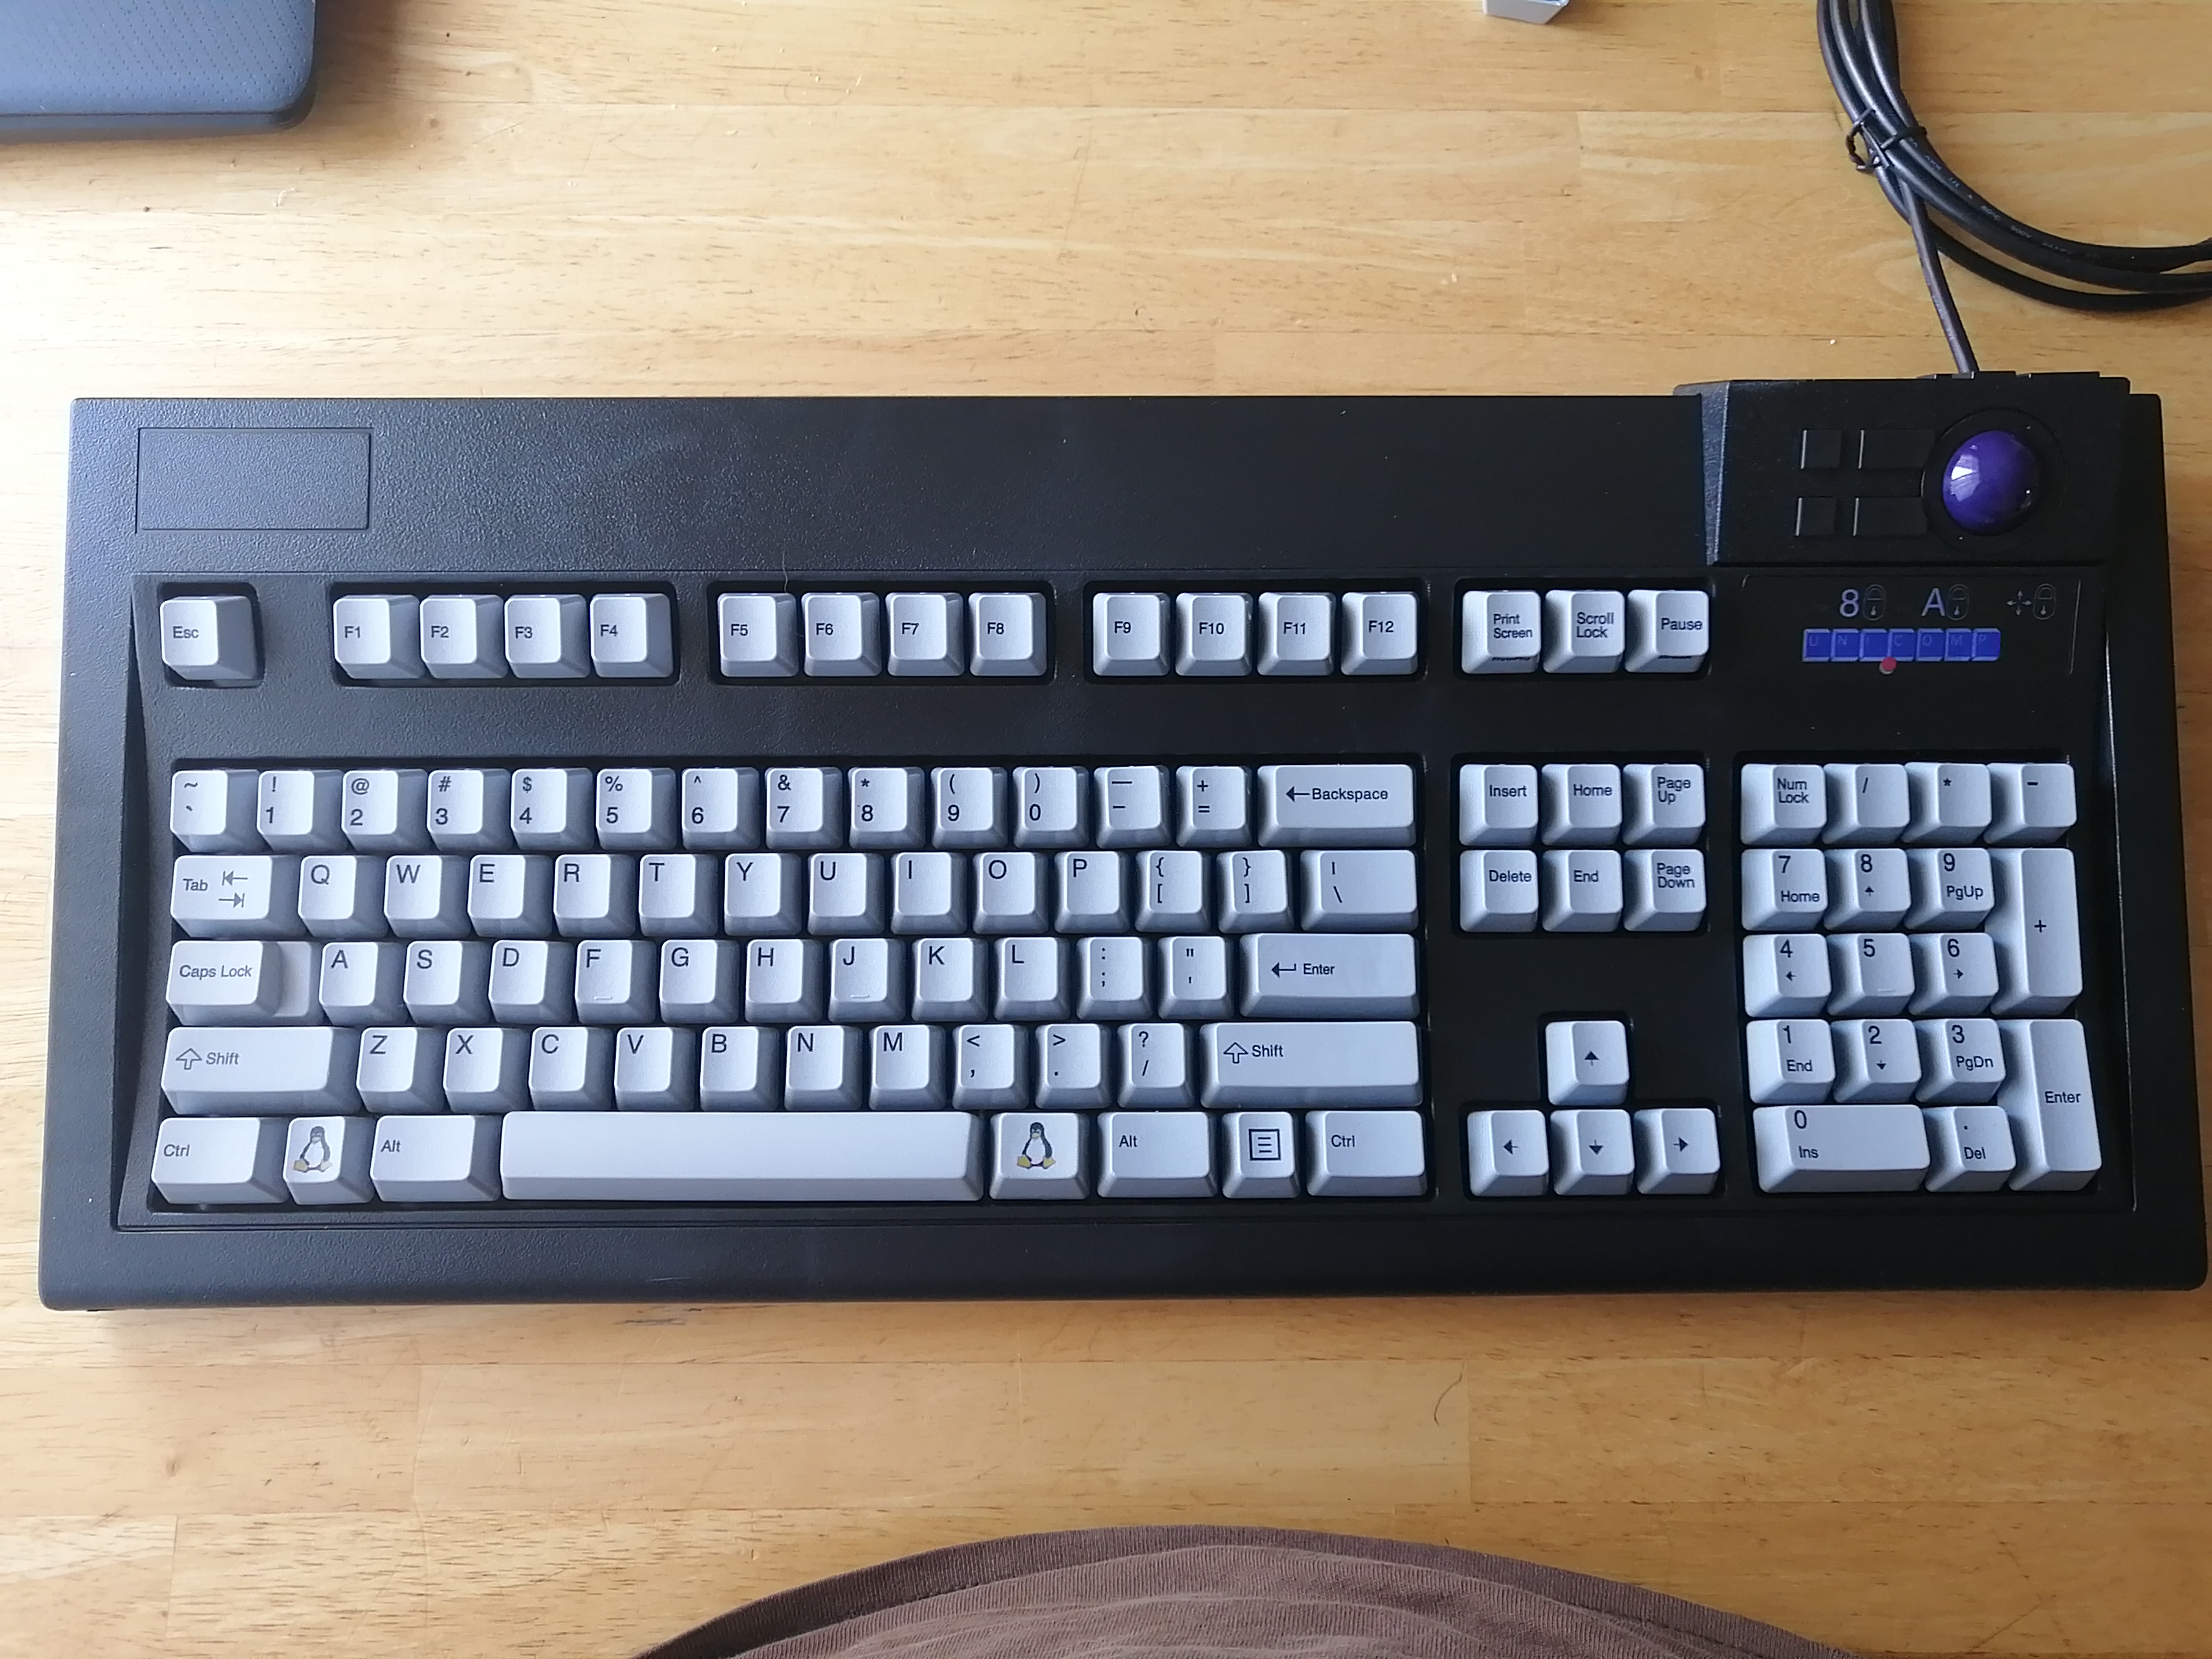
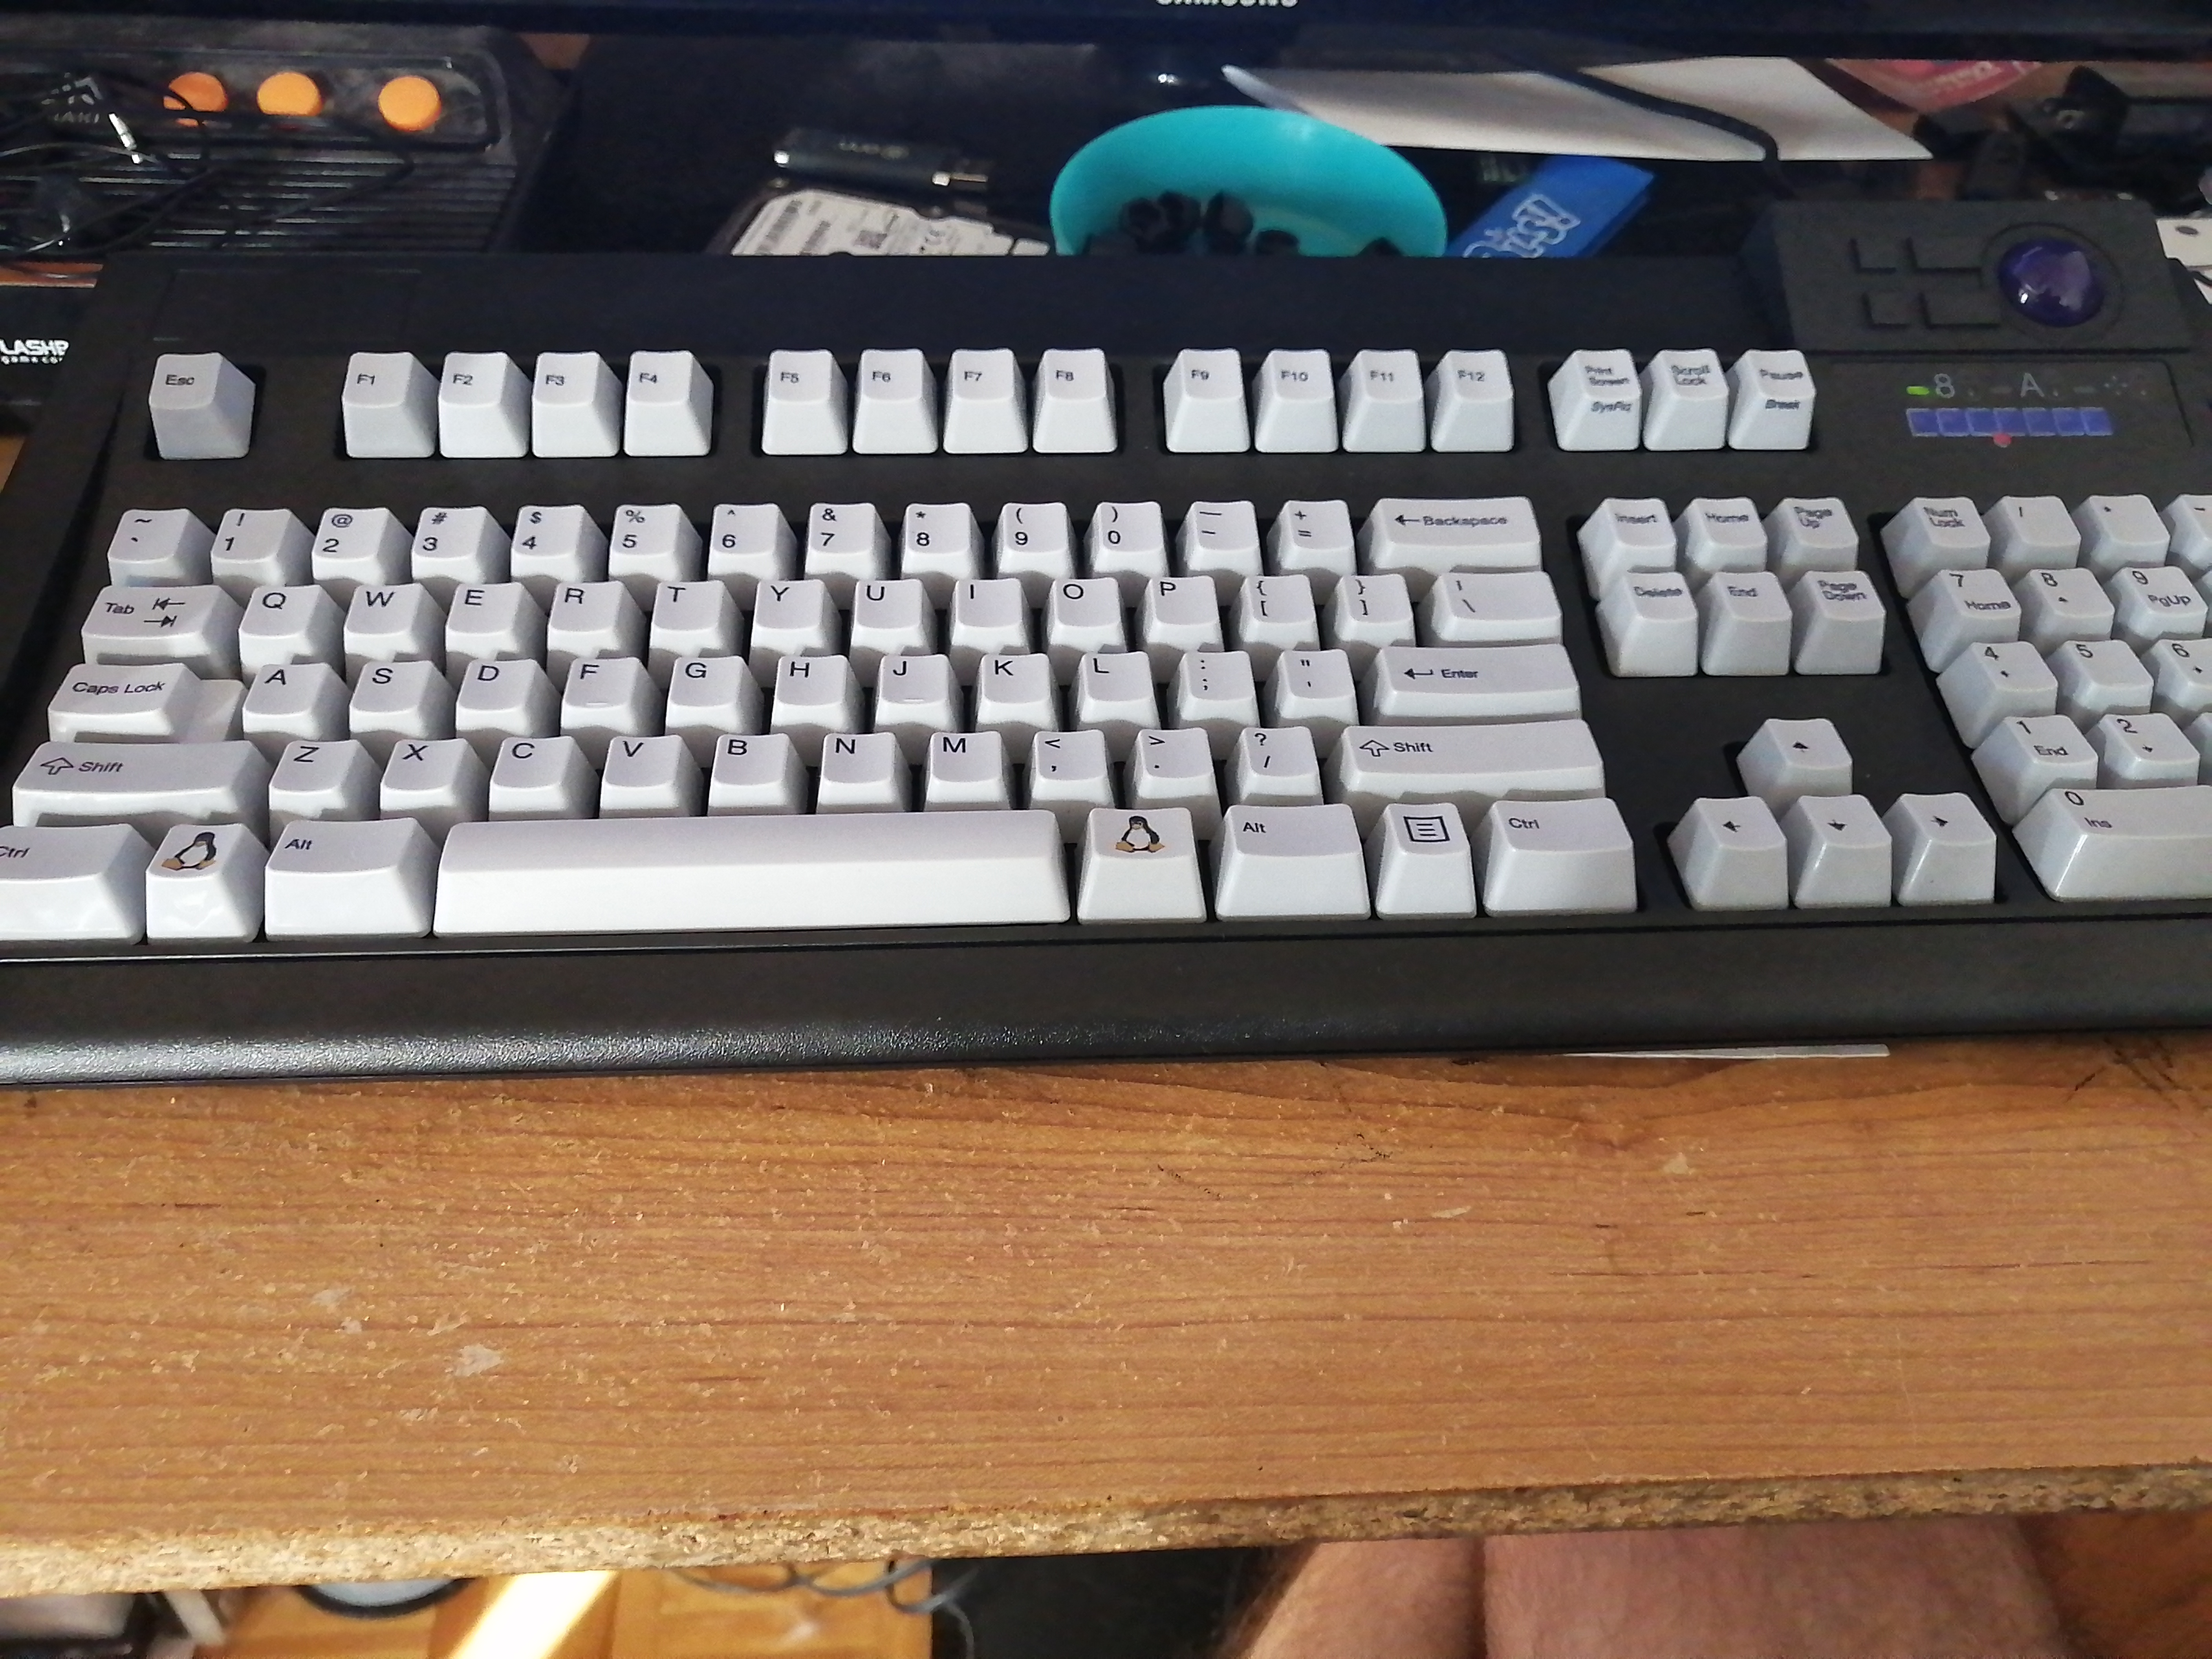
Bus 001 Device 003: ID 17f6:0821 Unicomp, Inc R6_0_Trackball_v3_45
Bus 001 Device 002: ID 046d:c52b Logitech, Inc. Unifying Receiver
Bus 001 Device 009: ID **1908:0226** GEMBIRD 
Bus 001 Device 004: ID 1058:0827 Western Digital Technologies, Inc. My Passport 0827
Bus 001 Device 001: ID 1d6b:0002 Linux Foundation 2.0 root hub

Note the bolded vendor/product ID above. The resulting command is then

qemu-system-x86_64 -vga cirrus -smp cores=8 -machine accel=kvm -m 4096 -hda FreeBSD.img -device usb-ehci,id=ehci -device usb-host,bus=ehci.0,vendorid=0x**1908**,productid=0x**0226** -name "FreeBSD" -rtc base=localtime

Notice the same bolded vendor/product id's. This will allow access to that USB device from the FreeBSD VM just as if it was connected to a physical pc.

Now we keep going with the install of the kernel/world we just built.

First we mount the SD card

mount /dev/da0s2a /mnt

Device name might differ.

Then the install steps

make TARGET_ARCH=armv6 KERNCONF=RPI-B DESTDIR=/mnt installkernel
mergemaster -p -A armv6 -D /mnt
make TARGET_ARCH=armv6 DESTDIR=/mnt installworld
mergemaster -iF -A armv6 -D /mnt
make TARGET_ARCH=armv6 DESTDIR=/mnt delete-old
make TARGET_ARCH=armv6 DESTDIR=/mnt delete-old-libs

This takes very little time overall. The biggests steps in a way are the 2 mergemaster commands as you have to pay attention to the files so you don't wipe your configurations.

Once that is all done we simply unmount the SD card, put it in the Pi and power it on. If all went well we should have a Pi booted up with the latest release of FreeBSD-12.2.

That's all for now.

Until next time. Be Safe!

@mgrondin@youdabomb.social

#Tech #FreeBSD

Until next time. Stay safe!

G @mgrondin@youdabomb.social

Weekly Music Review and Fixing an error ( #100DaysToOffload Day 29)

So this “review” is technically a week late. After the last post i neglected to pick up the new album and did not realize until the end of the week.

So for the last week i've been listening to Daze of the Future by Mr. 45. If you recall i picked this album from the surprise me section of Bandcamp and i must say i was very pleased with it. It's a bit more on the dark side which is part of what i enjoyed about it. I guess i don't have much else to say about it than that. It's some good (dark)synthwave music which is just what i'm into these days.

Onto the next one which i've already picked up to avoid the same situation as last time. This week i'll be listening to Calypso Drip FM by Gryff. This is a debut album which makes it that much more worth a listen. I picked it for 2 reasons.

  1. The cover is very inviting.
  2. The description of the inspiration for this album is something i can really appreciate.

Lets see where it goes.


As some of you may know i run my own Git using Sourcehut. See Part 1 and Part 2 of my adventure getting it setup.

Well a little while ago i messed up the actual Git part. What caused the mess up was letting it fall too many versions behind and got me to this mess. You can see my posts and “solution” at the bottom of that. I'll summarize. When the latest version was trying to apply the DB migrations it was running into a situation of needing a later migration applied before the “next” one. So my “solution to this was to force re-order the process. This did get everything to apply but left me in such a state that i needed to re-force that order with each update. It would result in this

upgrading git.sr.ht 100%
INFO  [alembic.runtime.migration] Context impl PostgresqlImpl.
INFO  [alembic.runtime.migration] Will assume transactional DDL.
INFO  [alembic.runtime.migration] Context impl PostgresqlImpl.
INFO  [alembic.runtime.migration] Will assume transactional DDL.
ERROR [alembic.util.messaging] Requested revision d42e577c5dcd overlaps with other requested revisions c167cf8a1271
FAILED: Requested revision d42e577c5dcd overlaps with other requested revisions c167cf8a1271
error: command failed to execute correctly

I lived with this for a while then it hit me. That revision must be stored somewhere in the DB and i just need to correct that and all should be good. It was truly that simple. In the git.sr.ht DB there is a alembic_version table. This table should only contain 1 row. The latest migration applied. In my case it contained 2. So the real solution was to delete the 2nd row(the one not matching up with the latest revision). Once this was done everything went just fine with the next update of git.sr.ht. So the moral of this story is to keep things up-to-date. Especially when something is considered in alpha status.

That is all for now.

Until next time. Be safe!

@mgrondin@youdabomb.social

#Music #Tech #SelfHost

Until next time. Stay safe!

G @mgrondin@youdabomb.social

A Quick and Dirty DNS server using FreeBSD ( #100DaysToOffload Day 28)

In today's post i'm going to show you how to setup up something i should have done a long time ago. Knowing now how easy it could be. What is this thing? Setting up a in-home DHCP/DNS server. At first i was just looking for a DNS server thinking like a Pi-Hole but i knew i wanted to use FreeBSD as the OS. I want to use BSD's more mainly just to learn about them not because i think they are better(yet). FreeBSD is my choice simply because i've had the best experience with it. This would work from any of the BSD's but some step might differ a little. So Looking around i found out that the “Pi-Hole” only runs on linux. Looking a little further i found out that a Pi-Hole really is just a DNS server plus a block list. Doing this also means i don't have to maintain a host file on each device i own.

Enter dnsmasq

This little piece of software is just what i was looking for. Plus it's also a DHCP and TFTP server. And it's native to BSD's(It can also be found on linux).

The setup was quite easy. I am using a Raspberry Pi Model B rev 2(A second one i had laying around) for now but this is going to be upgraded to something else as it does struggle a little. But it is very usable and any slow downs are only noticeable when the TTL of the DNS record expires.

So step one was to flash the SD card with the FreeBSD image this i did using dd from my linux PC

dd if=FreeBSD-12.1-RELEASE-arm-armv6-RPI-B.img of=/dev/sdX

Pop that in the Pi and boot it up. I always do the initial Pi boot up with it connected to a display just in case something goes wrong and plus then i don't have to try and look at DHCP lease tables to find out what the IP address of it is.

After initial boot next task should be to change the default password(s) for root account and freebsd account. You can do that using the same passwd command as on linux.

Next you really should set a static IP on any server and also set a hostname to do that on FreeBSD you edit /etc/rc.confand add these lines

hostname="hyperion"
ifconfig_ue0="inet 192.168.2.6 netmask 255.255.255.0"
defaultrouter="192.168.2.1"

ue0 above is the name of the network interface. This could be different on your system. You can find the interface name using the ifconfig command.

Now i know i could have these changes take effect with a few command but i always reboot when making changes like this.

What i always do next is somewhat optional but HIGHLY recommended. Make SSH use public key authentication. I'll assume you know how to do this and move onto the setup of the actual DHCP/DNS server. At this point i would also disconnect the Pi from the display, Place it in it's final resting place and do the rest of the setup over SSH.

The only package we need to install is dnsmasq

pkg install dnsmasq

Once that is installed it's a matter of configuring it. dnsmasq is a caching DNS server by default but can also be a DHCP and TFTP server. I decided to also use it as the DHCP server on my network to ensure that all clients use it as DNS server. dnsmasq parses /etc/hosts and turns those into DNS records/responses.

Here is my config


# Never forward plain names (without a dot or domain part)
domain-needed
# Never forward addresses in the non-routed address spaces.
bogus-priv

no-resolv
server=9.9.9.10
server=149.112.112.10
dhcp-range=192.168.2.20,192.168.2.150,24h
dhcp-option=3,192.168.2.1
dhcp-authoritative

# Send microsoft-specific option to tell windows to release the DHCP lease
# when it shuts down. Note the "i" flag, to tell dnsmasq to send the
# value as a four-byte integer - that's what microsoft wants. See
# http://technet2.microsoft.com/WindowsServer/en/library/a70f1bb7-d2d4-49f0-96d6-4b7414ecfaae1033.mspx?mfr=true
dhcp-option=vendor:MSFT,2,1i

cache-size=300
conf-dir=/usr/local/etc/dnsmasq.d

# If a DHCP client claims that its name is "wpad", ignore that.
# This fixes a security hole. see CERT Vulnerability VU#598349
dhcp-name-match=set:wpad-ignore,wpad
dhcp-ignore-names=tag:wpad-ignore

# Always allocate the host with Ethernet address 11:22:33:44:55:66
# The IP address 192.168.0.60
#dhcp-host=11:22:33:44:55:66,192.168.0.60
# If this line is uncommented, dnsmasq will read /etc/ethers and act
# on the ethernet-address/IP pairs found there just as if they had
# been given as --dhcp-host options. Useful if you keep
# MAC-address/host mappings there for other purposes.
#read-ethers

Most of those options are explained or self-explanatory so i'll explain the less obvious ones.

no-resolv by default dnsmasq gets it's list of upstream dns servers to pass onto clients by reading /etc/resolv.conf this disables that and makes it get it's upstream server from it's own config file.

server=9.9.9.10
server=149.112.112.10

These are the 2 upstream DNS server i use. They are provided by Quad9. These are the unsecured non-blocking servers as i will supply my own blocking list.

So then in /etc/resolve.conf you just need to have nameserver 127.0.0.1

and then disable resolvconf by creating /etc/resolvconf.conf with the following content

resolvconf=NO

dhcp-option=3,192.168.2.1 this sets DHCP option 3(Default gateway) for all clients to 192.168.2.1 dhcp-authoritative This makes dnsmasq forcefully become the only DHCP server on the network so it will takeover leases from other servers(if i understand that correctly)

I've left the addresses reservation lines because i may use them someday.

conf-dir=/usr/local/etc/dnsmasq.d this makes dnsmasq parse all files under that folder

in that folder i have the block list found here

This list get updated everyday and is a large list blocking AD and malware domains.

So with that all in place all that is left to do is to enable/start the service

To enable add this to /etc/rc.conf

dnsmasq_enable="YES"

Then to start it right now

service dnsmasq start

That's it the server is now running and will answer DHCP and DNS requests. Any clients you have set with static network configurations you will need to update the DNS server on those to point to this newly setup server.

The other thing i did was create a small script to update the block list everyday and restart dnsmasq.


#!/usr/local/bin/bash
wget -O /usr/local/etc/dnsmasq.d/dnsmasq.blacklist.txt https://raw.githubusercontent.com/notracking/hosts-blocklists/master/dnsmasq/dnsmasq.blacklist.txt
service dnsmasq restart

and add that to /etc/crontab

0 1 * * * root /root/upblocklist.sh >/dev/null 2>&1

I have that set to go at 1AM every day as the blocklist repo is updated right around 12am in my time zone. You'll have to adjust this so you grab it after it's been updated.

And that is it. Like i said the Pi model B is not the best deivce to do this with. I think anything more recent with more than 1 CPU core would work just fine. My plan is to get a Rock64.

Well i hope this post was helpful to someone.

Until next time Stay safe!

@mgrondin@youdabomb.social

#Tech #BSD #Selfhost

Until next time. Stay safe!

G @mgrondin@youdabomb.social

Weekly music review and a new service offering (#100DaysToOffLoad Day 26)

So this week i have been listening to Cataclysm by Electric Dragon. To no surprise i have been enjoying every minute. This artist is a bit darker than most other Synthwave artists i've listened to but that's what makes it so great. It's like being down in the under belly having a party.

I'm not sure where the inspiration came for this album but i suspect that 2020 had a general impact on it. Most of the songs make reference to the end of days in some way but it's put together in such a way that is very enjoyable. I'll be listening to this one again for sure and you should as well.

Now for next weeks album we are going to stick in the Synthwave genre but a little different still.

This album is by a band that has interested me for a while but i never really checked it out.

The band is called Master Boot Record. I think you can see why the name would interest me.

Anyways the album i'll be listening to is Floopy Disk Overdrive. Please go and check it out. If you are more skilled in those things than me maybe you can unlock the secret track. Come back next week for more music.


As a hobbyist self-hoster i'm almost always looking for something else to host. One because i like to see what else is available in terms of self-hostable stuff and two because i just enjoy the setup process.

So when @selea@social.linux.pizza put out a call for someone to take over https://tempmail.linux.pizza (now redirects to my server) i saw it as something i could throw onto my recently uncovered Raspberry Pi model B and i jumped at the chance. So https://tempmail.youdabomb.social is born(Literally just yesterday). What does it offer:

Random Disposable Mailbox ✅
No Access Logs ✅
Mail Deleted after 2 days ✅

2 domains to choose from anon.ymous.xyz nullnvoid.xyz More domains to come later(Maybe...Probably)

It is made possible by Disposable-Mailbox.

So if you want to avoid some spam associated with some websites or just want to be able to use/join a website without giving your regular email well now you can.

Keep in mind that this is running on quite the small device so while it can't handle all of you at once it should be able to service everyone given time. If it's in high enough demand i'll look at upgrading the hardware it's on. For now it should do.

Well that is all for now

Until next time Be Safe!

@mgrondin@youdabomb.social

#Music #Tech #SelfHost #BSD #Raspi

Until next time. Stay safe!

G @mgrondin@youdabomb.social

Weekly music review and a few other things (#100DaysToOffLoad day 25 )

So for this weeks music review i have been listening to Punk/HC by Lavage. This was also part of the #mmbc that i joined last month. Every month we listen to one album and speak of it at the end of the month. Like a book club but for music. Look us up on Mastodon/the fediverse using the hashtag #mmbc and join us.

So the album was amazing in my oppinion. It is punk as punk should be. RAW! Even tho i could not understand the lyrics(Still have to look them up and translate them) i fully enjoyed the album. It took me back to all the punk shows i attended in my teens. Most of which where just local bands in some random(sometimes sketchy) venue. The 2 english songs while different since not being the bands/singers native language where still great. I'll be listening to this one much more.

Another one you need to pick up for sure.

This weeks album is going to be Cataclysn by Electric Dragon. This is the latest album by a Synthwave artist i have listen to before and enjoyed so i don't think i'll be disappointed.


Next quick topic is that i have renewed my adventure with BSD(FreeBSD this time). I got an old laptop from work and have put FreeBSD on it. The WiFi works so i'll be using this one much more than my last laptop on which BSD did not find the WiFi adapter. I'm writing this post on it.


As i mentioned in my last post. I've recently found out about the #Gopher protocol and have even setup a little Gopher server. Since last post i have moved the #GopherSpace to a new domain. It is now at

gopher://gopher.pizza

Again writefreely wont make that clickable so you will need to copy and pate it. To learn a little more about Gopher and ways to access it see my previous post.

I am also opening my #GopherSpace to anyone who would like to host some content on it. Please see the main page of the space for contact info and reach out if you want to join.

It will require that you have/create a SSH key pair as the upload method is via SFTP. I will allow password authentication as well but would prefer key based auth.

Let me know if you have any questions on this.

Well i guess that's all for now.

Until next time. Be safe!

@mgrondin@youdabomb.social

#Music #Tech #Gopher #BSD

Until next time. Stay safe!

G @mgrondin@youdabomb.social

New Keyboard and GeekCode (#100DaysToOffload Day 18)

In today's post we will have a quick look at the new keyboard i got about a week back. I wont call it an official review because i suck at those but hopefully it can give yo an idea about how great it is and tip you over if you are on the fence about getting one of these. I'll also talk about something kinda neat/silly i found.

First the keyboard.

So a long while ago @selea@social.linux.pizza posted about a sweet keyboard he got(including the video below) from Unicomp.

I told myself that day that i would someday have one. That day has come. About a week ago i got this baby

Keyboard_Images Keyboard_Images

I must say i absolutely love it!! I got the tux keys to replace the windows keys because well i run linux. I decided to go with the trackball version just for the simple reason of why not? I probably wont put the trackball to much use but it does look pretty cool. Anyone looking for a new keyboard should consider a Unicomp keyboard. The feeling/experience of typing on one of these is like nothing else. Each key press is followed by very distinct “click” and a nice audible bounce back of the spring. There is nothing like it.

Also made a quick/dirty unboxing video. You can view that below if you wish

Now lets talk about the GeekCode.

As described on the above the GeekCode is the creation of Robert Hayden back in the mid/late 90's. It's intent was a quick way for geeks to recognize each other's skill level/interest while communicating on mailing lists/forums/NewsGroups. I for one had never come across it until i stumbled upon V1 of it on textfiles.com when someone i follow on Mastodon posted a link to that site. Soon after i found the latest version V3.12 and set out to craft mine. The result is:

——-BEGIN GEEK CODE BLOCK——- Version: 3.1 GCM/IT d- s:– a C++(+++) UL+++ P L+++ !E W++ !N !o K-? w$ !O !M !V PS@ !PE Y+>++ PGP+ t++ 5+ !X !R tv+ b>+ DI>+ D+ G e+ h—— r+++ y+++ ———END GEEK CODE BLOCK———

If you want to decode that to understand it you can do that here

This code will now be at the bottom of every email i send. It's also on my mastodon/pleroma profiles. I think it's kinda neat. Its somewhat easy to read/understand once you know what each section is. If you get one or already have one please share.

Anyways that's all for now.

Until next time stay safe!

@mgrondin@youdabomb.social

#Tech #Geek

Until next time. Stay safe!

G @mgrondin@youdabomb.social

Mystery Drives adventure ( #100DaysToOffload Day 16)

So once again i have missed a few day(like 4) . Partly because wow time flies and i suck at keeping a routine and also because someday i just have nothing to write. I try but some days by the time i have the time it's bed time...

Anyways onto today post. In a previous post i found 2 HDD's when cleaning my desk. Today lets see what's on them.

So first i went with the biggest

SamsungDrive

Once i plugged it in it seemed to have a hard time spinning up but once it did i ran dmesg

[12492.016974] usb 1-5: new high-speed USB device number 5 using xhci_hcd
[12492.165816] usb 1-5: New USB device found, idVendor=04fc, idProduct=0c25, bcdDevice= 1.03
[12492.165818] usb 1-5: New USB device strings: Mfr=2, Product=3, SerialNumber=1
[12492.165819] usb 1-5: Product: USB to Serial-ATA bridge
[12492.165820] usb 1-5: Manufacturer: Sunplus Technology Inc.
[12492.165821] usb 1-5: SerialNumber: SAMSUNG HMS25YJ9EZC24659      
[12492.183863] usb-storage 1-5:1.0: USB Mass Storage device detected
[12492.184046] scsi host16: usb-storage 1-5:1.0
[12493.218807] scsi 16:0:0:0: Direct-Access     SAMSUNG  HM641JI               PQ: 0 ANSI: 2
[12493.218931] sd 16:0:0:0: Attached scsi generic sg12 type 0
[12493.219551] sd 16:0:0:0: [sdj] 1250263728 512-byte logical blocks: (640 GB/596 GiB)
[12493.223065] sd 16:0:0:0: [sdj] Write Protect is off
[12493.223068] sd 16:0:0:0: [sdj] Mode Sense: 38 00 00 00
[12493.226057] sd 16:0:0:0: [sdj] No Caching mode page found
[12493.226060] sd 16:0:0:0: [sdj] Assuming drive cache: write through
[12493.271298]  sdj: sdj1 sdj2 sdj3
[12493.287066] sd 16:0:0:0: [sdj] Attached SCSI disk
[12495.078929] sd 16:0:0:0: [sdj] tag#0 FAILED Result: hostbyte=DID_OK driverbyte=DRIVER_SENSE cmd_age=1s
[12495.078932] sd 16:0:0:0: [sdj] tag#0 Sense Key : Medium Error [current] 
[12495.078933] sd 16:0:0:0: [sdj] tag#0 Add. Sense: Unrecovered read error
[12495.078935] sd 16:0:0:0: [sdj] tag#0 CDB: Read(10) 28 00 4a 85 82 a0 00 00 08 00
[12495.078937] blk_update_request: critical medium error, dev sdj, sector 1250263712 op 0x0:(READ) flags 0x80700 phys_seg 1 prio class 0
[12497.208218] sd 16:0:0:0: [sdj] tag#0 FAILED Result: hostbyte=DID_OK driverbyte=DRIVER_SENSE cmd_age=2s
[12497.208221] sd 16:0:0:0: [sdj] tag#0 Sense Key : Medium Error [current] 
[12497.208222] sd 16:0:0:0: [sdj] tag#0 Add. Sense: Unrecovered read error
[12497.208225] sd 16:0:0:0: [sdj] tag#0 CDB: Read(10) 28 00 4a 85 82 a0 00 00 08 00
[12497.208227] blk_update_request: critical medium error, dev sdj, sector 1250263712 op 0x0:(READ) flags 0x0 phys_seg 1 prio class 0
[12497.208230] Buffer I/O error on dev sdj, logical block 156282964, async page read
[12498.162779] BTRFS: device label root devid 1 transid 264523 /dev/sdj3 scanned by udevd (10554)

Oh that does not look good. But it can see a BTRFS filesystem on it so that's a good thing. Not what i was expecting. I assumed it would have an NTFS partition. so what's on this...

➤ sudo mount /dev/sdj3 /mnt/usbtmp
marcg@thebeach:~
➤ ls /mnt/usbtmp/
.   bin   dev  home  lib64  opt   root  sbin  sys  usr
..  boot  etc  lib   mnt    proc  run   srv   tmp  var

Ok it has a linux system on it...mine?

marcg@thebeach:~
➤ ls /mnt/usbtmp/home
.  ..  marcg

Yep mine for sure

marcg@thebeach:~
➤ ls -la /mnt/usbtmp/home/marcg/
total 488
drwx------ 1 marcg users    566 Jun 30  2016  .
drwxr-xr-x 1 root  root      10 Dec 27  2015  ..
-rw------- 1 marcg users    359 Apr 15  2016  .bash_history
-rw-r--r-- 1 marcg users     21 Nov 23  2015  .bash_logout
-rw-r--r-- 1 marcg users     57 Nov 23  2015  .bash_profile
-rw-r--r-- 1 marcg users    274 Dec 27  2015  .bashrc
drwx------ 1 marcg users    266 Mar 26  2016  .cache
drwx------ 1 marcg users    330 Jun 20  2016  .config
drwxr-xr-x 1 marcg users  27412 Jul  1  2016  Desktop
-rw-r--r-- 1 marcg users     23 Dec 27  2015  .dmrc
drwxr-xr-x 1 marcg users     56 Jun 26  2016  Documents
drwxr-xr-x 1 marcg users  11810 Jun 27  2016  Downloads
-rw------- 1 marcg users     16 Dec 27  2015  .esd_auth
-rw-r--r-- 1 marcg users  18674 Feb 24  2016 'Essay- Coates.odt'
-rw-r--r-- 1 marcg users  19517 Feb 25  2016 'Essay- Thompson.odt'
drwx------ 1 marcg users      8 Dec 27  2015  .gnome
drwxr-xr-x 1 marcg users     50 Jan 18  2016  .hplip
-rw------- 1 marcg users  16030 Jun 30  2016  .ICEauthority
drwxr-xr-x 1 marcg users     16 Dec 27  2015  .linuxmint
drwxr-xr-x 1 marcg users     10 Dec 27  2015  .local
drwx------ 1 marcg users     34 Dec 27  2015  .mozilla
drwxr-xr-x 1 marcg users      0 Dec 27  2015  Music
drwxrwxr-x 1 marcg users    176 Dec 27  2015  packer-color
drwxr-xr-x 1 marcg users     32 Mar  8  2016  Pictures
drwx------ 1 marcg users     10 Dec 27  2015  .pki
drwxr-xr-x 1 marcg users      0 Dec 27  2015  Public
drwx------ 1 marcg users     54 Dec 27  2015  .ssh
drwxr-xr-x 1 marcg users      0 Dec 27  2015  Templates
drwxr-xr-x 1 marcg users      0 Dec 27  2015  Videos
-rw------- 1 marcg users     54 Jun 30  2016  .Xauthority
-rw------- 1 marcg users  25576 Jul  1  2016  .xsession-errors
-rw------- 1 marcg users 383067 Jun 30  2016  .xsession-errors.old

From 2015-2016 wow i'll have to try and dump what i can from it. I suspect that the above errors will prevent a full dump/exploration but i'll see what i can get.

Alright what's on that other drive.

HitachiDrive

mount: /mnt/usbtmp2: wrong fs type, bad option, bad superblock on /dev/sdk1, missing codepage or helper program, or other error.

Well that's not good. Oh but right i did not install/enable anything NTFS/FAT related. So after installing ntfs-3g and rebuilding my kernel with ntfs support i tried again

marcg@thebeach:~
➤ sudo mount /dev/sdj1 /mnt/usbtmp/
NTFS signature is missing.
Failed to mount '/dev/sdj1': Invalid argument
The device '/dev/sdj1' doesn't seem to have a valid NTFS.
Maybe the wrong device is used? Or the whole disk instead of a
partition (e.g. /dev/sda, not /dev/sda1)? Or the other way around?

Well not good. Gparted still reports it as unknown type. So i suspect one of two things. Either it's corrupted or it's encrypted using VeraCrypt(Or TrueCrypt) but i'm pretty sure i've seen Gparted detect those before... So for now it's content(whatever shape it's in) will remain a mystery. I may try some more to figure out what's on this bu for now...

That is all for today.

Until next time Stay Safe!!

@mgrondin@youdabomb.social

#Tech

Until next time. Stay safe!

G @mgrondin@youdabomb.social

I made the jump to Gentoo ( #100DaysToOffload Day 14)

So after thinking about it for a few days i decided to make the jump to #Gentoo. I'm glad i did. I forgot how fun using Gentoo could be. It has it's drawbacks like compilation time, understanding use flags and some dependency quirks but i knew all this going in. Overall i find it makes my system run ever so slightly faster. Is it a placebo effect? Maybe but i'll be damned if i'm not going to embrace it. Either way the feeling of running software optimized for my CPU is something. As silly as that is.

One thing that i wanted to try and avoid(And maybe another of gentoo's quirks) is getting in a hell of 32bit dependencies like i did last time. By default gentoo will only build 64bit libraries and applications. It can build 32bit when needed and that's controlled via the abix8632 use flag. I don't recall exactly what happened but i remember that i was in a mess of everything wanting to build 32bit versions but nothing could build because something else would not be happy if something had 32bit support. It was a vicious circle of turning off/on 32bit builds of things. I ended up giving up and going to funtoo who at the time did things a little different when it came to 32bit(Now they only offer pure 64bit).

Anyways one thing that still requires many 32bit parts is steam. I do use steam for most of my gaming so i needed a solution. Something that could allow me to have mostly(all) only 64bit libraries/applications on my day to day but still run steam. Luckily gentoo provides a guide for setting up steam inside a chroot so that's what i ended up doing. With work and all it took most of the last 3 days to get that just right. Some of this being moving data back and forth when things got messed up with the chroot setup. But that's all sorted out now. Steam is working great. Gotta find another solution for Diablo 3 and Star Wars: The old Republic. Not that i play those 2 often but when i get the itch i want to play them...

Still a few general things left to setup. Automate backups(I manually run them in the morning not a big deal just a few cron entries), Yubikey (which i just got working before writing this) and some missing fonts for a better web experience. Other than that i'm happy with the move.

I could ramble for a while about things i did to get back up and running but i think i'll leave it at this for now. I'll end by saying that i did find a cable for that HDD enclosure from my last post so in a future post i will see what's on those 2 drive i found.

Until next time stay safe!!

@mgrondin@youdabomb.social

#Tech

Until next time. Stay safe!

G @mgrondin@youdabomb.social

Mystery HDD (#100DaysToOffload Day 13)

So lat week i finally decided to clean my desk. Well it was not so much a choice as it was forced as i was looking for the new insurance card for my car which should have been on me/in the car since Jan 01 of this year...good thing i did not get pulled over.

Anyways desk went from this

Before_Pic

To this

After_Pic

In the process i found many things along with said insuracne card. One(well 2) of those things was some HDD's. I have no clue what is on them or where they came from. I think one came from a laptop that is long dead.

Drives

I do have a USB enclousre i could stick them in but first i have to find a acable for said enclosure.

Enclosure_Pic

So now i must go on a hunt to find a cable to make this enclosure work so i can figure out what is on those drives...i will post here if i ever find said cable.

Also i've made the switch to Gentoo and have gone with setting up Steam in a chroot. I should have been documenting that process but i will try to make a blog post of it anyways. Overall it went well. Have to get used to how Gentoo works all over again.

That is all for today.

Until next time. Stay safe!!

@mgrondin@youdabomb.social

#Tech #Cleaning

Until next time. Stay safe!

G @mgrondin@youdabomb.social

Google Recaptcha alternative ( #100DaysToOffload day 12)

Today's post will be a quick one. A while ago my work wanted a captcha added to our website forms re prevent spam. The only thing that i knew of at the time was google's recaptcha so that's what i put in place. After i doubled down on my anti-google(really anti-centralized) mission i knew i had to change to something else.

After a while of looking i found secure image

What can i say. It's free. Open source and easy to setup. Supports using a cookie or mysql database. It also offers different types of verification. Either text or math question. The amount of image distortion can also be configured. Overall i really like it. It just works.

Well that's about all for this post.

Until next time. Stay Safe!!

@mgrondin@youdabomb.social

#Tech #SelfHost

Until next time. Stay safe!

G @mgrondin@youdabomb.social